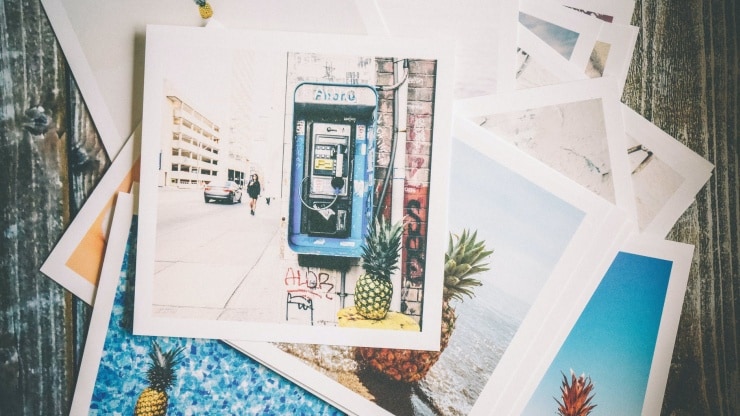
Digital photography might already be mainstream but many of us still browse through photo albums in our free time. They are conversation starters. Photo albums are best left in the living room when you have guests over. This was a common practice in the past but photo viewing is now an activity, only done on smartphones. Printing photos at professional setups have always been an expensive ordeal and inconvenient, but not anymore if you own a photo printer.
If you haven’t purchased one, it’s a good time to consider one. There are photo printers and some others multifunction models that can print, copy and scan. There are also portable photo printers that can be carried and wireless printers that can accept prints straight from your smartphone. Printing photos is as much an art as creating it. It requires care and discipline, for the best results.
Using the right quality and type of paper
Possibly one of the most important things after purchasing a good printer is knowing what kind of paper to use. For example, most high-quality photo printers use ink cartridges, while some others use ink tanks which are more affordable. The print quality of inktank printers is good enough for most casual prints. Paper is available in matte and glossy finish, and it’s up to personal choice and the kind of printer which one you use. Most basic inkjet and ink tank printers are best used with matte finish paper. Photo printers tend to give better results with glossy paper. Traditionally, glossy paper has been used by photo printing services.
What you see is not what you get

The quality of prints depends on the source, the colour accuracy of your monitor, the colour profiles and then the quality of the printer. What you see on an uncalibrated screen may not be what you get in your print. A calibrated monitor, camera, printer lets you achieve the most accurate replication. It’s a good idea to do trial prints, with tweaks to the colour of the images to get to as close as you can to an ideal print. For example, if you notice that your monitor does not render reds very well, you might increase the saturation of red in the photo, but that might result in the printout showing very saturated reds. A lot of trial and error will get you the results you want.
Adjusting image resolution, crop and size
Most cameras allow you to change the picture quality from standard to fine. This ensures little to no compression, preserving details and accurate colours. Use the highest resolution as well. These will ensure good results. Don’t resize photos to lower sizes on your laptop or PC. Most web sites also use compressed JPG images, so the results of downloaded images may be less than ideal. Low resolution images result in blurry images. The quality differences may not be visible from afar but will be obvious at close distances.

The aspect ratio of the photo also is very important. Most cameras might be clicking photos at 4:3 aspect ratios so when you print it on most paper formats, you might notice odd white spaces around images. You might need to crop your image beforehand so that the image fits neatly on the paper. Most printing software also add a margin around the print which is convenient if you are framing the photo.
Tweaking photos and choosing the right file format
Photo resolution is not the only thing you need to be aware of. Use high-quality image formats such as TIFF that store as detail as possible. JPG formats tend to lose quality especially if you adjust the image for smaller file sizes. You can also tweak images by adding sharpness, and by tweaking the contrast and saturation.
Setting the print quality on your printer

Printers have their own picture quality settings and most of them handle colour standards. These settings are also available during the printing process. Some printers use economy modes to save ink too. Use high-quality modes for printing high quality photos but remember, these consume more ink and you might need to replace the ink cartridges sooner.
Take your printer for multiple dry runs

Make it a habit to take dry runs of the photos before you take your final prints, or you might end up with a large batch of poor quality prints with drastically varying colour saturations. They may not look odd at a glance but put them on the wall or a photo album and flip through them, the badly printed photos will stand out.
Get physical photo frames

If you’re clicking large photos, it’s a good idea to get a photo frame. Most towns have photo frame shops where you can buy photo frames of different sizes and styles. Choose narrow, wooden photo frames with a dark, non-glossy border. It’s preferable if the frame allows you to easily replace the photo. That way, you can print multiple photos and replace them in the photo frames as and when you wish.
These were some of our tips on how to print good quality photos at home. Printing photos let you relive your memories by having these photos placed around your home. It adds more colour to your surroundings and it’s a very cost-effective way to present your creativity.


