
If we had to pick the most important aspect of photography, it would be – light. A DSLR is the best device to click pictures with. But before you can get to that point, you first need to understand what ‘exposure’ is, and how the various features of a camera can be used to control it. ‘Exposure’ is the term used to describe the amount of light reaching the camera sensor. It’s a very important aspect of photography and if not done right, the end result could be images that look dull (under-exposed) or too bright (over-exposed).
What makes a good portrait image?
There is a good chance that most of the photos you click on a DSLR are going to be portraits. A good portrait photo is one where the desired subject stands out, while the background is blurred. Most DSLRs have a Portrait mode which is programmed to do this automatically, but they don’t always get it right. The best way is to manually do it yourself, by playing around with Aperture.
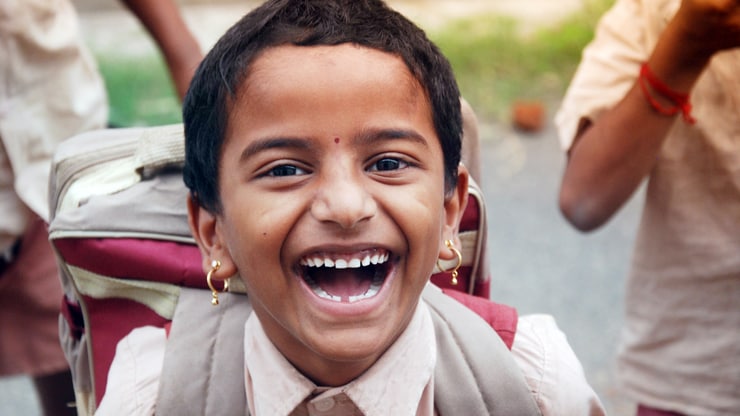
Aperture is nothing but the opening in the lens, through which light passes to the sensor. Adjusting the aperture value lets you control the size of the opening. The value for Aperture is measured in F-stops. Higher the ‘f’ value, smaller the opening and vice-versa. In order to blur out the background you need to have a shallow depth of field, which can be done with the help of the smaller aperture (higher ‘f’ value). Set the camera to the Aperture mode and move the dial to get a lower value. The lower you set the Aperture value, the blurrier the background gets. Try out different Aperture values, based on the amount of light around.
How to get still images of fast moving objects?
Blurry images are usually a result of one of three things - either the subject or the camera in motion or in some cases, both. You’ll generally face this problem if you’re photographing wildlife, sports events or even just your kids running around. This is where Shutter speed can help.
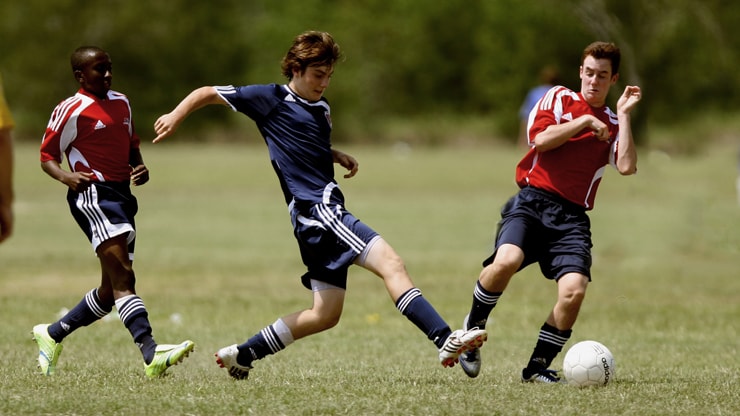
Shutter speed determines the amount of time, light has to reach the sensor. It’s measured in seconds and the most basic DSLRs come with a range from 30 seconds to 1/4000th of a second. To get a still image of a fast moving object, you’ll need to set a lower value of a tiny fraction of a second. Set the camera to Shutterspeed mode and move the dial to adjust the value. Generally 1/100th to 1/200th is considered to be an ideal range for fast moving objects. You need to set the value right based on the pace of the scene you wish to photograph.
How to get a clean shot of small objects?
Macro photography is the photography of small objects, such as flowers or insects. Here, you need the image to look very sharp with the right exposure. This makes it important to pick the correct lens, with the right focal length. If you’re photographing objects up close, a lens with smaller focal length, preferably the 40-60 mm is recommended. On the other hand, if you want a greater subject-to-lens distance, a telephoto lens with a focal length of 200mm would help. This will allow you to shoot from a distance and also avoid shadows.
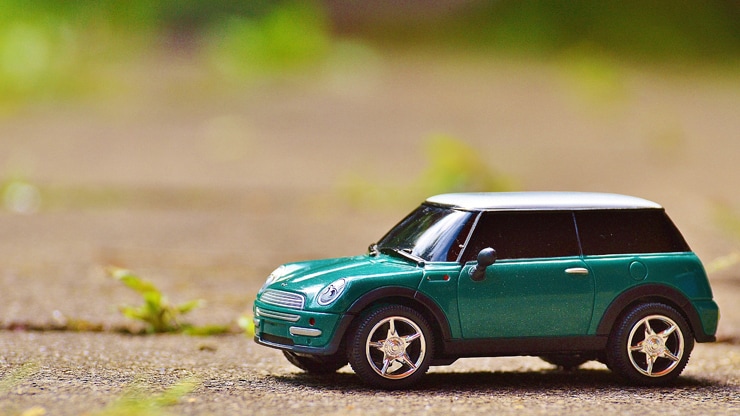
Aperture also plays a very important role here. A lens with a lower Aperture value will allow you to have a much shallow depth of field, which in turn allows the object to stand out, much like we discussed in Portrait mode. Macro lenses usually offer an aperture value as low as f/1.2. However, you need to decide the value based on your area of focus.
How to get bright images at night ?
Getting the right exposure gets a lot trickier during the night time. Most people resort to using a flash but that adds a certain hue to the photo which doesn’t look nice. On a DSLR, you have the option to tweak aperture and shutter speed to get good exposure. For example if you’re taking a portrait image, you can set the camera on the manual mode and reduce the shutter speed, while making the aperture bigger. This will get in more light and avoid an under exposed image.
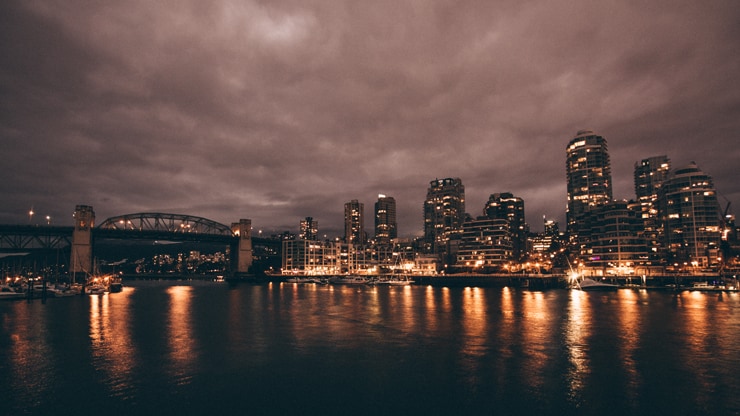
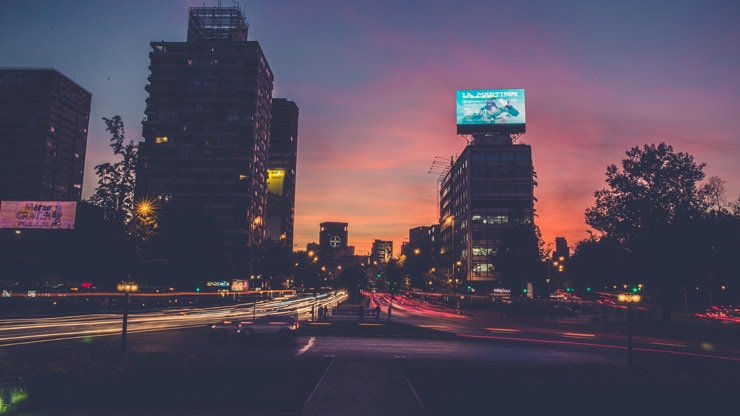
Long exposure images
Long exposure images are shot by keeping the shutter of the camera open in order to allow all the light to reach the sensor, helping make up for the lack of light around. Long exposure is great for astrophotography or to shoot time lapse images. Shooting these images also means that you have to keep the camera positioned at one place and pointed at the same angle. Thus, you most definitely need a tripod.
To click long exposure images, you need to put the camera in Shutter speed mode and scroll all the way to the 30 second limit or beyond. Further, you might come across a ‘B’, which stands for the Bulb mode. Set the camera on the Bulb mode and in this mode the camera leaves the shutter open for as long as you want. After this, point the camera towards the subject and press the shutter button. You can close the shutter by clicking the shutter button once more.
Some other things to keep an eye out for
Getting the right colour
Often, some images you click on the camera carry a certain tinge. This sort of change is usually influenced by the light in which you’ve clicked the image. It can change the temperature of the image, making the colours look unnatural. There is an easy fix to this and it’s called White Balance.
Using light metering effectively
In auto shooting mode, the camera either tries to compensate for the low light or make up for overly bright surroundings in order to get the ideal exposure level. But if you want an image to look darker or brighter, the metering option is the one to use. This mode can be used to compensate for certain elements in the frame that are too bright or too dark. The best way to understand different metering modes is to try them in different scenarios.


