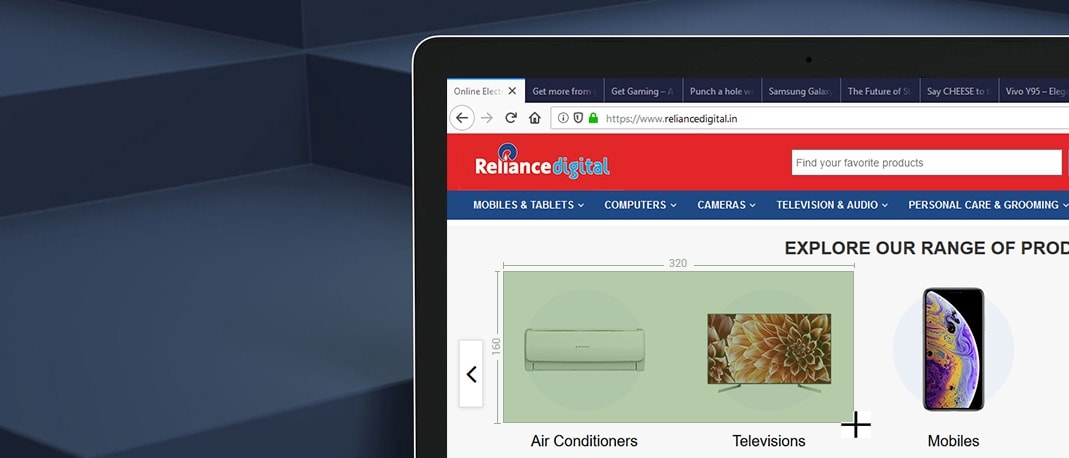
Working professionals and students may at times need to include screenshots in their work for better visual communication. Their work may include writing documents, creating presentations or sharing information over emails. Screenshots make it easy to convey this. Taking screenshots on phones is easy, but on a PC or laptops, it isn’t as intuitive. It first involves pressing the Print Screen key and making fine edits to captured screens on MS Paint. This means, there is a lot of alt-tabbing, juggling between windows and software. The result isn’t all that great either. Some Windows users even prefer using the Snipping tool to take screenshots.
These tools have basic screen capture features that are enough for occasional use but if you capture many screenshots all the time, switching between windows and software can really get on your nerves. It can also be very time consuming. This is when an advanced screen capturing tool can make life easier. There are many tools available online but the one we recommend is Greenshot. It’s easy to use, and it’s freely available for download.
Install it, and we will run you through various scenarios where Greenshot can make a difference in the way you work.
Capturing screenshots

Say at office, your client asks for an update on some software development. It would be that or you just need to capture some information off your web browser. Greenshot lets you capture the entire screen, window or a part of it.
Steps:
1. Click on the Greenshot icon > Select one from the capture options.
The screenshot capture options include – the capture region that lets you decide on a part of the screen you want to capture. In case, you need to capture a second instance of the screen, you can select the capture last region. In addition, there are two other options – capture window and capture full screen. You may find these useful to capture the major part of the screen.
2. Once you select the capture option, drag or point the mouse pointer to capture the screen and release the mouse pointer.
Exporting screenshots into other software

If you want to attach screenshots in a mail, you may likely need to copy-paste them or add attachments. If you are using Greenshot to capture screens, you get an easy option to save, open, copy or send the screenshot within the interface. Greenshot lets you directly import the screenshot to Microsoft Outlook, OneNote, PowerPoint, Word and MS Paint.
Steps:
1. Click on the Greenshot icon > Select one from the capture options
2. Drag or point the mouse pointer to capture a specific area on the screen and release the mouse pointer.
3. A small pop-up window with save, open in image editor, copy to clipboard and other software export options such as Microsoft Outlook, OneNote, PowerPoint, Word, Excel, MS Paint are available. Click on the right option.
Capturing a sequence of screenshots, one keypress at a time

While writing a step-by-step word document which could be a training content piece, or perhaps a presentation that describes a workflow, you might need to depict the work through a sequence of screenshots. Greenshot simplifies this by just pressing the Print Screen button, once you’ve made the right setting changes.
Steps:
1. Launch the Greenshot tool
2. Click on Preferences > Destination
3. Select one from the listed save options
By default, this might be set to “Select destination dynamically”. Change it to your preferred destination from the options listed.
Adding notes and highlights, tweaking screenshots

You can choose to make fine edits to the screenshots. There are a variety of tools available – selection, drawing, shapes, text, annotations and highlight features to get it done. There is also an obfuscate feature to blur parts of the screenshot to hide your identify and contact details.
Not just screenshots captured on Greenshot, you can even edit images from your desktop or clipboard. Greenshot doubles as a basic designing and image editing tool.
Steps:
1. Click on the Greenshot icon
2. Select the screen capture option. Drag the mouse pointer to select the screen and release
3. A small window pop-up has an option of – “Open in image editor”. Click on it.
4. The captured screenshot will appear on the Greenshot editor. You can start editing the screenshot.
Merging of screenshots

Capturing multiple screenshots and attaching them in a mail or fitting them on a PowerPoint slide can be a bit challenging. In such cases, you can capture only a part of the screen and Greenshot will help you merge them all in a single image.
Also, Greenshot lets you move and edit screenshots, which is typically not possible in MS Paint.
Steps:
1. Click on the Greenshot icon
2. Select the screen capture option. Drag the mouse pointer to select the screen and release
3. A pop-up should display the open in image editor. Click on it. The captured screenshot will appear on the Greenshot editor.
4. Click on the Greenshot icon again
5. Capture another window and release the mouse pointer till you see the same pop-up
6. Hover the mouse pointer on “Open in image editor” option and select the Greenshot editor window you just created.
You can further move or add elements to make every single screenshot look amazing.
We just introduced you to the right piece of software. We hope you will be able to come up with even more innovative ways of using Greenshot better. This was just another example of a good piece of software that saves time and effort. One of other features we’ve published talks about how high resolution can help you work faster and even more efficiently. We hope you’ll give it a read.


